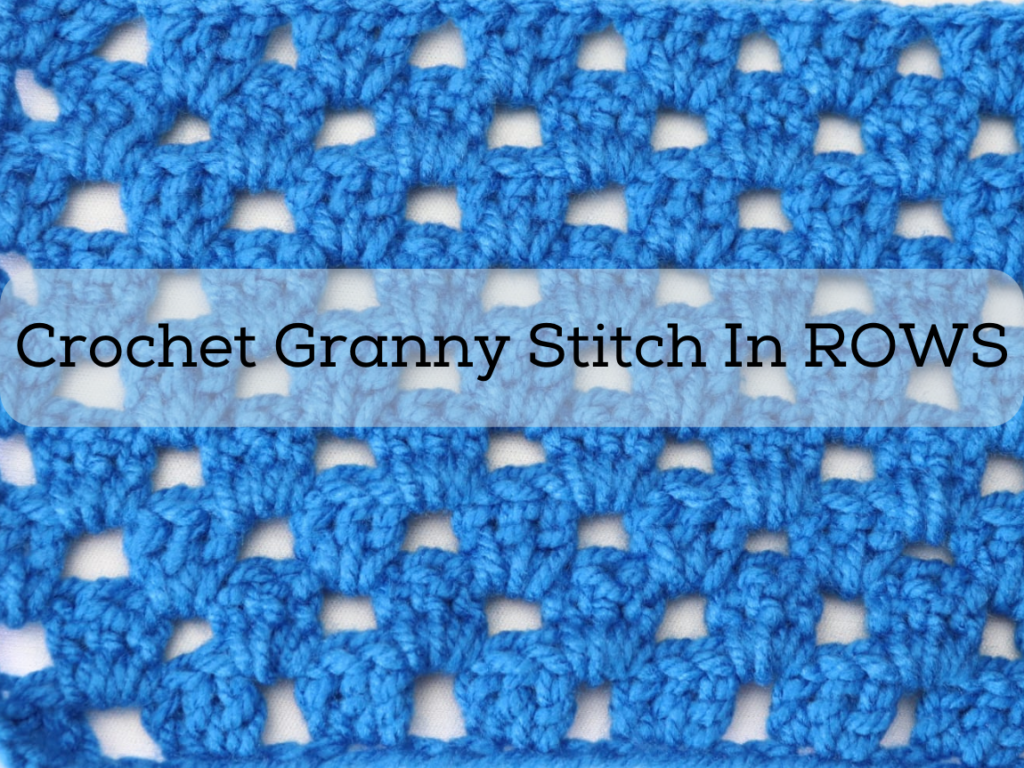
Crochet granny stitch has been around for centuries and is one of the easiest stitches to make. However, it might look complicated if you haven’t made it before. Coming in different variations, the granny stitch can be made in squares, rectangles, rows, circle and hexagons. It has endless possibilities and thus it being timeless.
In this pattern, we will learn how to make the crochet granny stitch in rows but you can find other variations here.
This post may contain affiliate links or referrals.
Why Learn The Granny stitch pattern In Rows.
- You can use the granny stitch in row pattern for numerous projects. From blankets to scarves & shawls, sweaters and cardigans, the options are endless. It also works quicker because it has only 2 rows to repeat.
- It gives a beautiful fabric and you can decide to change colors in your work.
- It is a beautiful alternative to a granny square without having to weave in ends and join individual squares together.
Notes.
- You will turn your work at the end of each row.
- The foundation chains in a multiple of 3 + 1. {this means, you will chain a multiple of 3 for as long as you want , then add 1}
- Chain 3 at the beginning of a new row counts as a stitch. Chain 4 counts as a stitch and chain 1.
- You can decide to change color after a number of row, or keep it in one solid color.
- The stitch is built in clusters of 3 dc in the same chain/ chain space.
- The Pattern is written in US Terminology.
Materials Needed.
The are the basic supplies needed.
- Yarn. For any crochet project, you will need yarn. This varies from weight to material content. However, for a beginner, i would recommend any worsted yarn for a good grip.

- Crochet hook. Any crochet hook will do, just endure it is recommended on the yarn label. If you’re a beginner, get a 5mm hook. Check out this set for different sizes.

- Pair of scissors.
- Yarn needle.
Save it for later in Pinterest.

Abbreviations and stitches Used.
Ch = chain
Dc = double crochet
Sl st = slip stitch
ch -1- sp = chain 1 space
Stitch Explanation.
Double crochet {dc}: yarn over, insert hook in the next stitch, yarn over and pull through the stitch (3 loops on hook), yarn over and pull through 2 loops (2 loops on hook),yarn over and pull through the last 2 loops.
Cluster: a group of 3 dc in the same stitch, chain or space.
Slip stitch {slst}: insert hook in the next stitch, yarn over and pull through both the stitch and loop on hook.
How to crochet granny stitch in Rows Pattern.
Chain a multiple of 3 stitches +1 . I made 25 chains.
Row 1.
Skip 3 chains(these will count as our first dc stitch), 2 dc in the 4th chain,

Chain 1,

Skip 2 chains, 3 dc in the next chain.

*chain 1, skip 2 chains, 3 dc in next chain. Repeat from * to the end of this row.

Row 2.
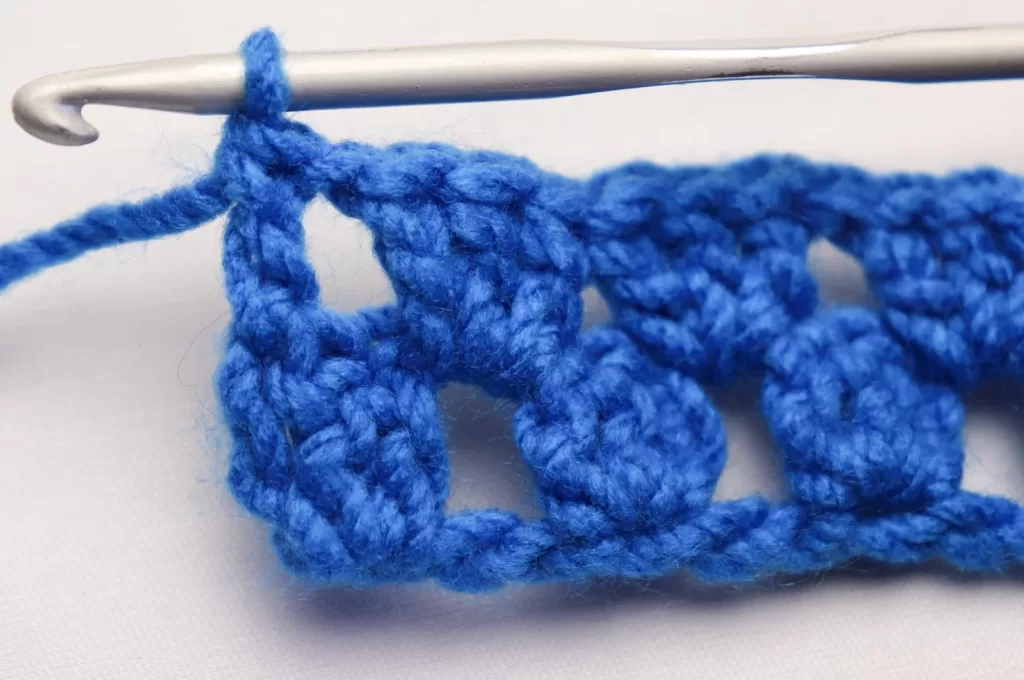
Ch 4 {dc and ch 1}, skip the first 3 dc cluster, then place 3 dc in the next ch-1-sp,

*ch 1, skip the next 3 dc cluster, then place 3 dc in the next ch-1-sp. rep from * to the last space.

ch 1, dc in the 3rd ch of the previous row first st.
Row 3.
chain 3, 2 dc in first ch-1-sp,

*ch 1, skip the next 3 dc cluster, then place 3 dc in the next ch-1-sp. rep from * to the last space. Turn.

Repeat Row 2 and 3 util you achieve your desired length or you master the pattern.

Finishing your work.
At the end of your rows, ch 1 and cut yarn leaving about 5 inches of tail. Using a darning needle, weave in the tail at the back of your fabric. You can choose to ad border or leave as is.
Congratulations! You have now learned how to crochet the granny stitch in rows. With this stitch, you can create stunning projects such as blankets, scarves, hats, and more. If you enjoyed learning this stitch and would like more stitch patterns, check here.
Sample project.
Once you’ve mastered the stitch, you can make this simple crochet triangle scarf.




Leave a Reply