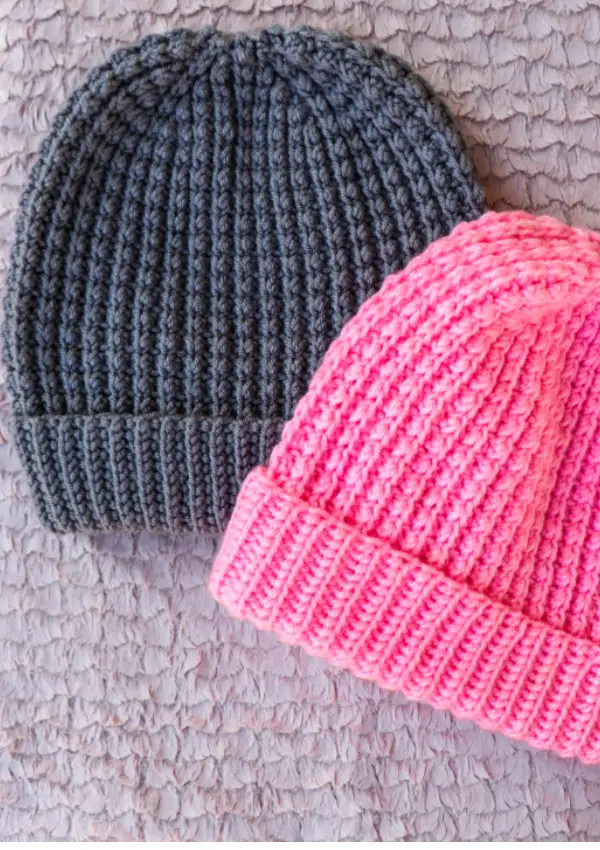
Did you know you can make this knit look crochet beanie even when you’re a complete beginner? This crochet beanie is super easy using only slip stitches and some short rows that are simple and easy to do.
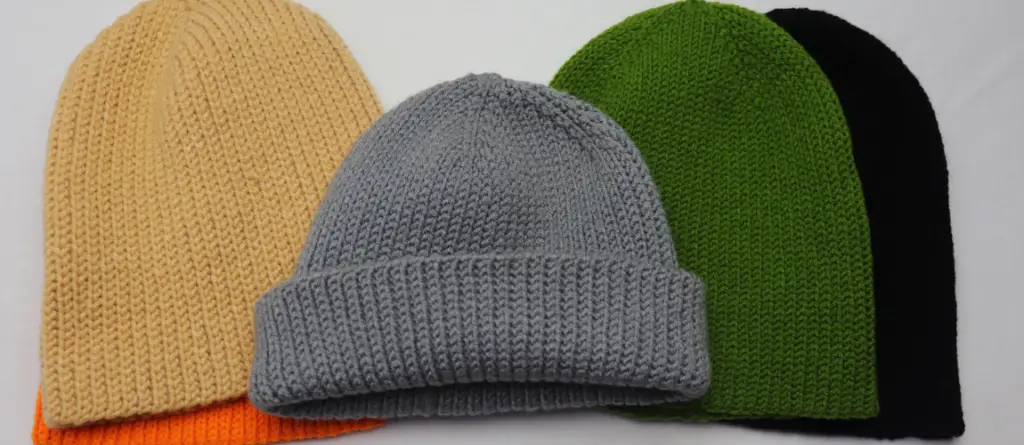
This knit look beanie is not only easy to make but is also functional. It has a particular ribbing that makes it so stretchy and the stretch bounces back to its original size. this makes it so ideal for different head sizes.
The pattern however gives 4 main size options: kids size, tween / xs, adult medium and adult large size.
This post may contain referral or affiliate links. I earn a small commission on qualifying purchases made through those links.
There are several crochet beanies out there and I hope this will be easy and fun to you. Most ribbed beanies are either made using post stitches or stitches worked in the back loop only. The back loop only stitches normally gives the knit look and you can achieve this with single crochet, half double crochet stitches. However the slip stitches back loop only {used in this pattern} will give you the best knit look version of crochet beanies.
If you’d like a more traditional hat pattern, check out this berry crochet hat.

If you would like the AD-FREE printable version of the beanie pattern, you can get it on Ravelry.
You can also follow along with the video tutorial here.
THE PATTERN IS WRITTEN IN US TERMINOLOGY.
Skill Level:
Advanced Beginner
Materials
Yarn
Worsted weight yarn / size 4.
The yarn used in pattern is saver by ice yarns {100% dralon acrylic, 200g/330 m}
You will need approximately
167 meters for kids size
178 meters for tween / xs size,
190 meters for adult medium,
204 meters for adult large
Hooks
4.5 mm crochet hook. If you used a different yarn, use the recommended hook size on the yarn label.
Notions
Pair of scissors
Yarn needle
Abbreviations/Stitches Utilized
st = stitch ch = chain pm = place marker pat = pattern
sl st = slip stitch yo = yarn over Blo = back loop only
Sizes / Measurements
| Size | Head Circumference | Finished length | Finished Width |
| Kids(4 to 12 yrs) | 18” – 20” | 9” | 7.5” |
| Tween \ xs | 20” – 22” | 11” | 8.5” |
| Adult Medium | 23” | 11.25” | 9” |
| Adult large | 24” | 12” | 10.5” |
Notes.
- The pattern is written in US TERMINOLOGY.
- Repeat instructions after the asterisk sign: *, as stated in the following statement.
- Ch 1 at the beginning of a new row does not count as a stitch.
- The photos used are for medium size.
- Number stated at the end of a row is the stitch count for each size.
- This pattern gives a very stretchy beanie that fits most heads.
- The pattern uses short rows to avoid bunch at the crown/top
- Always turn at the end of every row.
Gauge:
With 4.5 mm hook, working in slst blo,
22 sts & 26 rows measure 4” x 4″
Special stitch
Slip Stitch back loop only (Sl st blo) : insert hook through the back loop of the stitch, yo, pull the yarn through all the loops on hook.
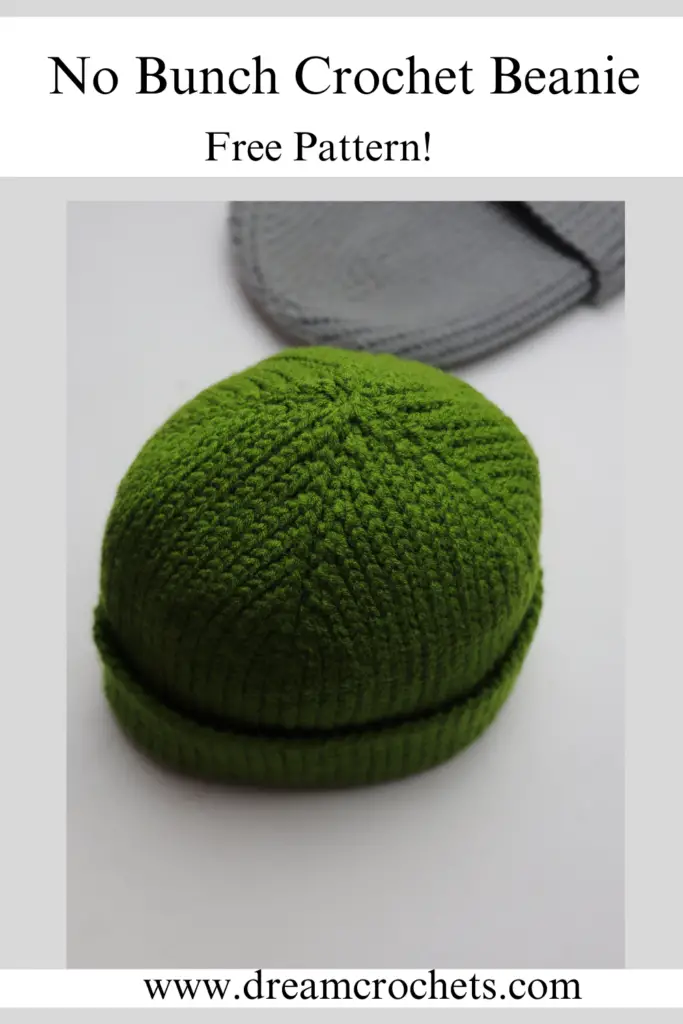
knit look crochet beanie Pattern Instructions.
Chain 53 (59, 63, 67)
Row 1. {working in the back bumps}
Skip 1 chain, sl st in each chain to end of row. 52(58, 62, 66)sts turn.
Row 2.
Ch 1, sl st blo in each st, until 2 sts rem, Turn.
Row 3.
Ch 1, sl st blo in every st to end of row. turn.
Rep row 2 & 3 until you have 9 (11, 13, 15) rows
Row 10(12, 14, 16) Bridging row
Ch 1, sl st blo in each st of previous row, pm on the last st.
* insert hook in the turning chain 1 of previous row, And also the blo of next stitch in the row below, then yo & pull through all the loops on hook, sl st in next st *
Rep the pattern from * to * until the end of row. You should have same number or of sts as row 1.ch 1 & turn
Row 11( 13, 15, 17).
sl st blo in every st to end of row. ch 1 & turn
Remember to replace marker on the stitch worked in the same stitch with marker, as of previous row
Row 12( 14, 16, 18).
sl st blo in each stitch, until you reach marker, sl st in the stitch with marker, then ch 1 & turn.
Row 13( 15, 17, 19).
sl st blo in every st to end of row. ch 1 & turn
Row 14( 16, 18, 20).
sl st blo in every st to end of row, insert hook in the turning chain 1 of previous row and the blo of next stitch 2 rows below, yo & pull through all loops, sl st in the next stitch, ch 1 & turn
Row 15( 17, 19, 21),
Sl st blo in every st to end of row. Ch 1 & turn
{Note: the last 2 rows are building our work towards the crown / top of beanie}
Repeat the last 2 rows until you finish all the increases(reach the crown), then ch 1 & turn
Row 21( 25, 29, 33 )
Sl st blo in every stitch to end of row.
Now you re going to repeat row 2 to row 21(25, 29, 33) four more times.

Joining the side seam.
At the end of your rows, ch 1 and cut yarn twice the length of the beanie.
Then join the sides together using the matress stitch.
Matress stitch.
- Using the tail you’ve just cut, insert the darning needle, through the back loop of the first stitch in row 1, then through the blo of last row st,

- continue threading the needle through two stitches on the opposite row, and 2 stitches of the last row, for few stitches, Then pull through to close the seam,
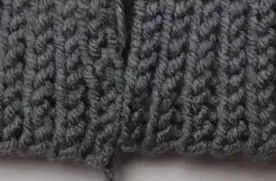
- Continue with the mattress stitch until you reach the crown. Then sew it around to close the gap.
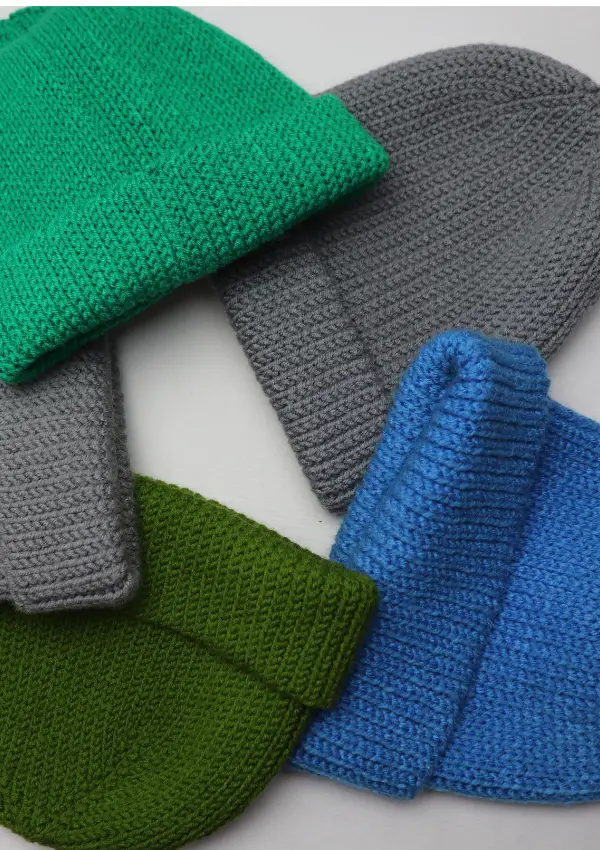
Your hat should be finished. Good thing, it can be worn on both sides.
I hope you love it as much as I do. ENJOY!
If you make one, you can tag me on Instagram or share it on our Facebook group. I’d love to see your recreations.


Hello! I found a wonderful yarn for this beanie, but didn’t realize it was a 3 weight. What adjustments would I need to make as far as size, amount t of yarn, or hook size- if any? Thank you so much! Im excited to get started!
Hello Teresa, you can make it in 1 size bigger.
Help! I just finished my 2nd repeat of row 2-21 and my stitch count is way less than row 1. Any ideas what I could have done?
so sorry to hear that. What’s the difference in stitch count? You can dm me pictures of your work on ig / fb (dreamcrochets) so I can advise further.
Thank you, I will DM you! I appreciate the offer to help!
Thank you for this pattern! I have a question on row 14 (16,18,20). The written directions say slip stitch once in the row below but the video shows two. The numbers come out right with two but I want to make sure that’s right. Thanks!
Thank you for noticing that. I’ve corrected it.
Is Row 14 (16,18,20) missing a stitch at the very end? It seems different than the video. Thanks for the pattern!
You are very right. Thank you so much for noticing that. I’ve already corrected it.
Thank you for your video and this description!
I have a 100g yarn and it says needle 5,5-6.5mm, can I still use this pattern? I assume I just have to make it a bit smaller or less rows but not sure how to adjust it. Any help is appreciated (:
Hello, you can use a 5mm hook, and less rows.
Love this pattern!! Where can I find the pdf version?
Thank you. We have it on ravelry. https://www.ravelry.com/patterns/library/knit-look-crochet-beanie-3