This post may contain affiliate links. I may earn a small commission from qualifying purchases made through them at no extra cost to you. Thank you.
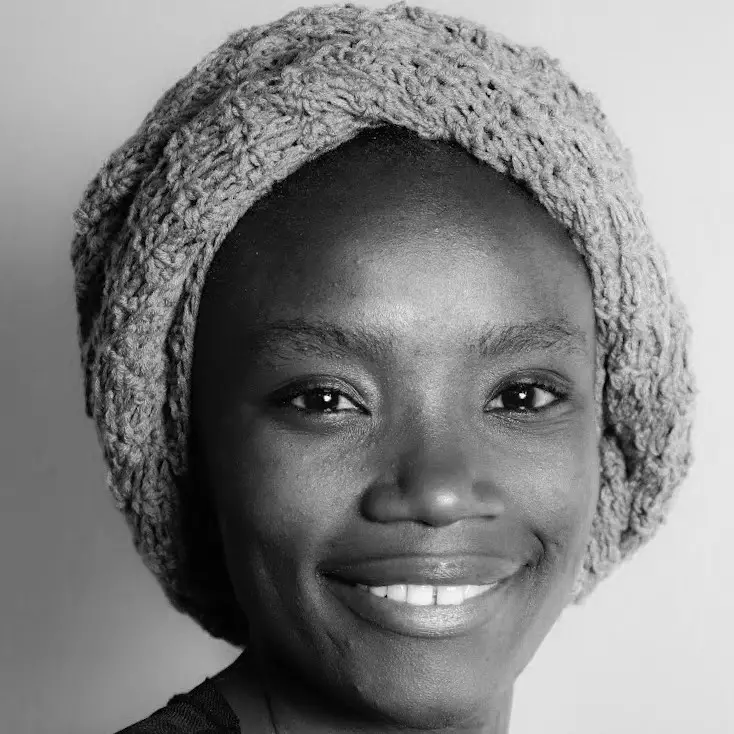
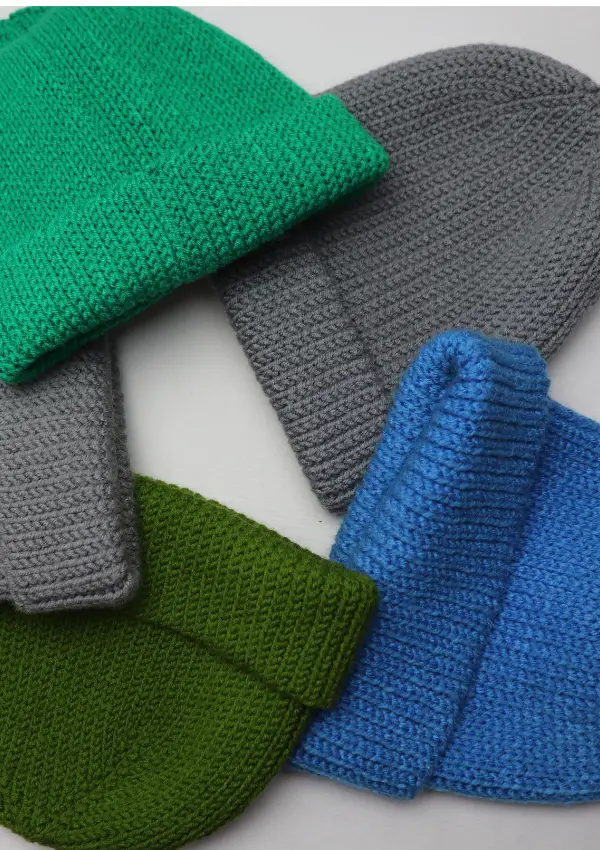
When the weather cools down, nothing feels better than a handmade crochet beanie. They’re quick to make, endlessly customizable, and perfect for gifting. Whether you’re new to crochet or simply looking for your next crochet beanie project, this step-by-step guide will walk you through how to make a crochet beanie that’s stylish, warm, and uniquely yours. This beanie uses the rail rib stitch, that combines slip stitches and half double crochet to give you a knit look rib that is so stretchy yet stylish.
What Makes this Beanie Unique.
- No Bunching at the Crown – Since the beanie is worked lengthwise in short rows, the shaping naturally fits the head without the common “bunched up” effect at the crown. This gives it a smooth, polished finish.
- Textured Yet Flexible Fabric – The mix of slip stitches and half double crochet creates a stretchy fabric with a beautiful ribbed texture, making the hat both stylish and comfortable to wear.
- Customizable Fit – Working lengthwise allows for easy size adjustments—just add or reduce rows to perfectly fit any head size without complicated math.
- Modern Construction Style – Unlike traditional top-down or bottom-up beanies, this side-to-side design offers a fresh approach that feels modern and stands out from standard beanie patterns.

THE PATTERN IS WRITTEN IN US TERMINOLOGY.
Skill Level:
Intermediate
Materials Needed
Yarn
Worsted weight yarn / size 4. The yarn used in pattern is saver by ice yarns {100% dralon acrylic, 200g/330 m}
You will need approximately 217 meters for adult small/medium and 249 meters for large.
You can however use any size 4 yarn you have around, just ensure your gauge is correct.
Hooks
- 4.5 mm hook
Notions
- Pair of scissors
- Yarn needle
Sizes & Measurements.
| Size | Head Circumference | Finished length | Finished Width |
| Adult small / Medium | 20” – 22” | 11” | 9” |
| Adult large | 24” | 11.75” | 11” |
Gauge:
With 4.5 mm hook, working in pattern stitch, 20 sts and 17 rows measure 4″ x 4”
Abbreviations & Stitches Used
st = stitch ch = chain pat = pattern sl st = slip stitch yo = yarn over
Blo = back loop only yoslst = yarn over slip stitch hdc = haf double crochet
Rep = repeat rem = remain(ing)
Pattern Notes.
- The pattern is written in US TERMINOLOGY.
- Repeat instructions after the asterisk sign: *, as stated in the following statement.
- Ch 1 at the beginning of a new row does not count as a stitch.
- The photos used are for adult large size.
- This pattern gives a very stretchy beanie that fits most heads.
- Always turn at the end of every row.
- Part of the pattern in written in shorthand e.g hdc-blo, slst-blo, means you place a hdc-blo in one stitch then slst-blo in the next stitch.
Special Stitches.
Slip Stitch back loop only (Sl st blo) : insert hook through the back loop of the stitch, yo, pull the yarn through all the loops on hook.
Yarn over slip stitch back loop only (yoslst-blo) : yarn over, then insert hook through the back loop of the stated stitch, yo, pull the yarn through all the loops on hook.
Half double crochet back loop only (hdc-blo) : yarn over, then insert hook through the back loop of the stated stitch, yo, pull the yarn through the stitch (3 loops on hook), then yarn over and pull through all the loops on hook.
Construction.
- This beanie is constructed in one piece, using slst-blo & yoslst-blo for the ribbing and {hdc-blo & slst-blo}for the main construction.
- You foundation row is worked lengthwise{top to down} & from right to left {right-handed} or left to right {left handed}, then joined with matress stitch join.
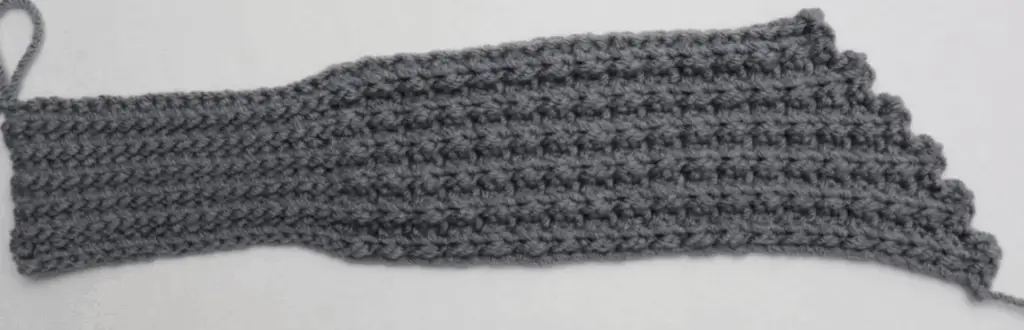
No bunch crochet beanie pattern Instructions.
Chain 58(62)
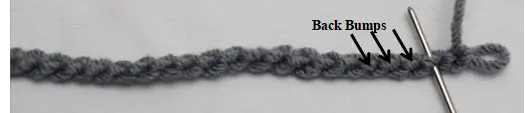
Row 1. (working in the back bumps)
Skip 1 chain, slst in next 18 (20) stitches, *hdc in next chain, slst in next ch, repeat from * to end of row, ending with a hdc. ch1 & turn.
Row 2.
hdc-blo in the first st, *slst-blo in next st, hdc-blo in next st, rep from * until you have the last 18(20)sts remaining, Yoslst-blo in all the remaining sts.
ch1 & turn.
Row 3.
Ch 1, slst- blo in the first 18(20) sts, Hdc-blo, *slst-blo, hdc-blo, rep from * until only 2 sts remain, ch1 & turn.
Row 4.
Rep row 2.
Rep row 3 & Row 4 until you have 10 rows for s/m & 12 rows for large
Row 11(13)
Slst-blo in the ribbing sts, hdc-blo, *slst-blo, hdc-blo, rep from * to end of row,
Working in the short rows
Place marker in the last hdc st, and continue with your row, *Insert hook in both the turning chain 1 in the row below & the back loop of the slst 3 rows below, then yo and pull through all loops, hdc-blo in next st.
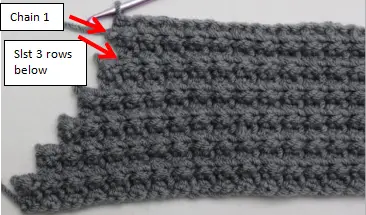
Repeat from * to end of row, ending on the last st at the crown. Ch 1 & turn.
Row 12(14).{remember to replace marker on the hdc stitch you place on the marked st}
hdc-blo in the first st, *slst-blo in next st, hdc-blo in next st, rep from * until you have the last 18(20)sts remaining, Yoslst-blo in all the remaining sts.
ch1 & turn
Row 13(15)
Slst-blo in the ribbing sts, hdc-blo, *slst-blo, hdc-blo, rep from * to st with marker, Ch 1 & turn. {you can remove marker}
Row 14(16)
hdc-blo in the first st, *slst-blo , hdc-blo , rep from * until you have the last 18(20)sts remaining, Yoslst-blo in all the remaining sts. ch1 & turn
Row 15(17)
Slst-blo in the ribbing sts, hdc-blo, *slst-blo, hdc-blo, rep from * to end of row, then insert hook in both the ch 1 of row below & the blo of the slst 3 rows below, yo & pull through all loops, hdc-blo in next st, Ch 1 & turn.
Row 16(18)
Rep Row 14(16)
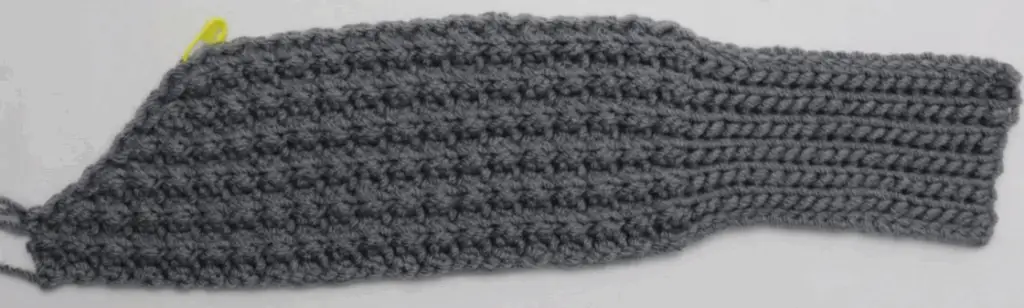
Continue repeating the last 2 rows until you reach the crown. You should have 22 rows for s/m & 26 rows for l/xl
- For s/m, repeat rows 3 to 22, 3 more times.[you should have 82 rows at the end.]
- For l/xl, repeat rows 3 to 26, 3 more times.[you should have 98 rows at the end.]
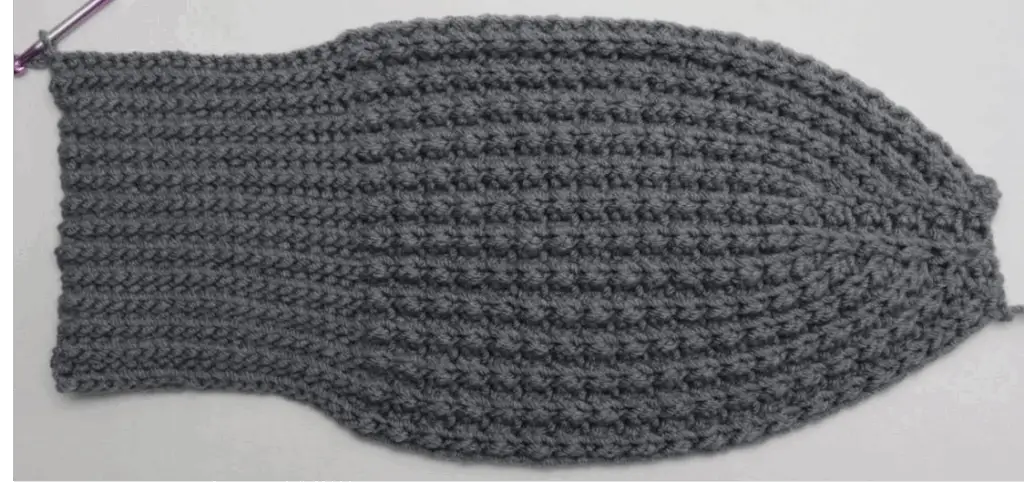
Joining the side seam.
At the end of your rows, ch 1 and cut yarn twice the length of the beanie.
Then join the sides together using the mattress stitch.
Continue with the matress stitch until you reach the crown.
Then sew it around to close the gap.

Your hat should be finished. Good thing, it can be worn on both sides.
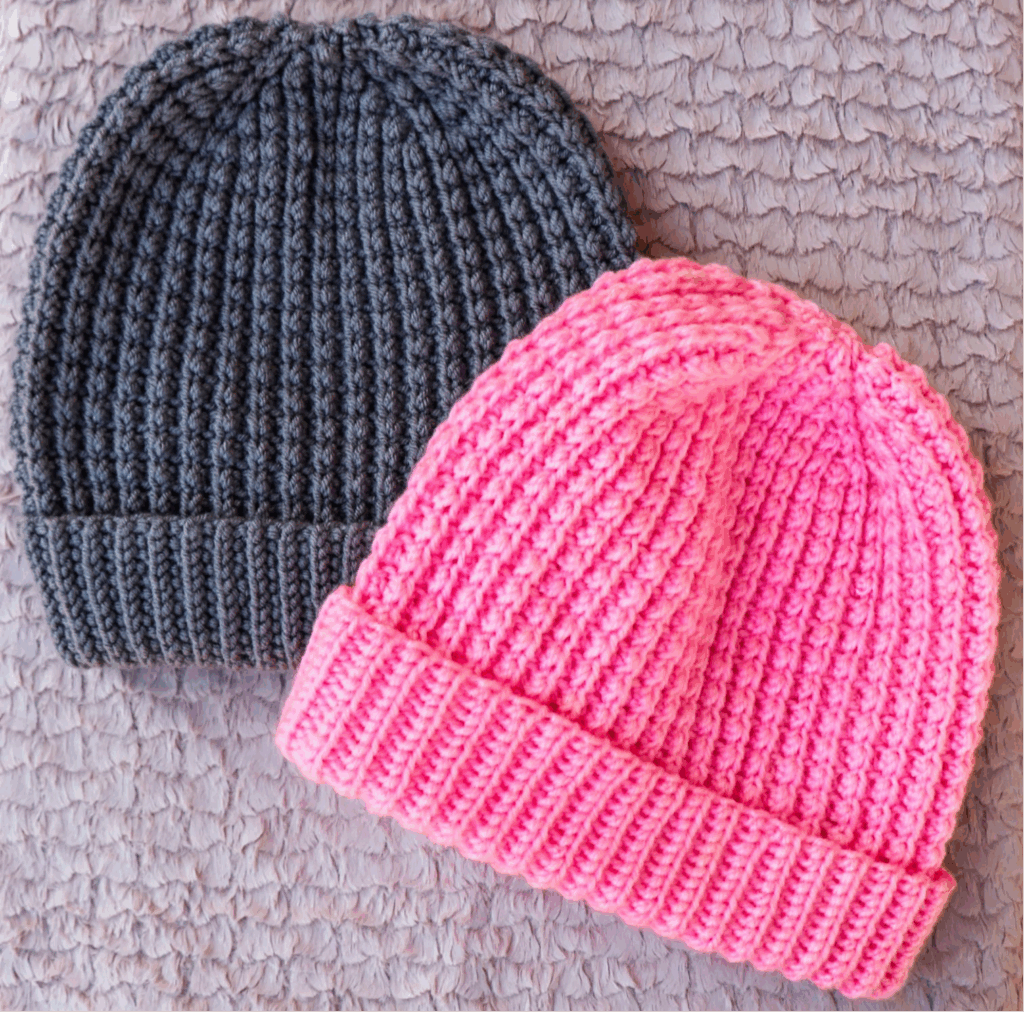
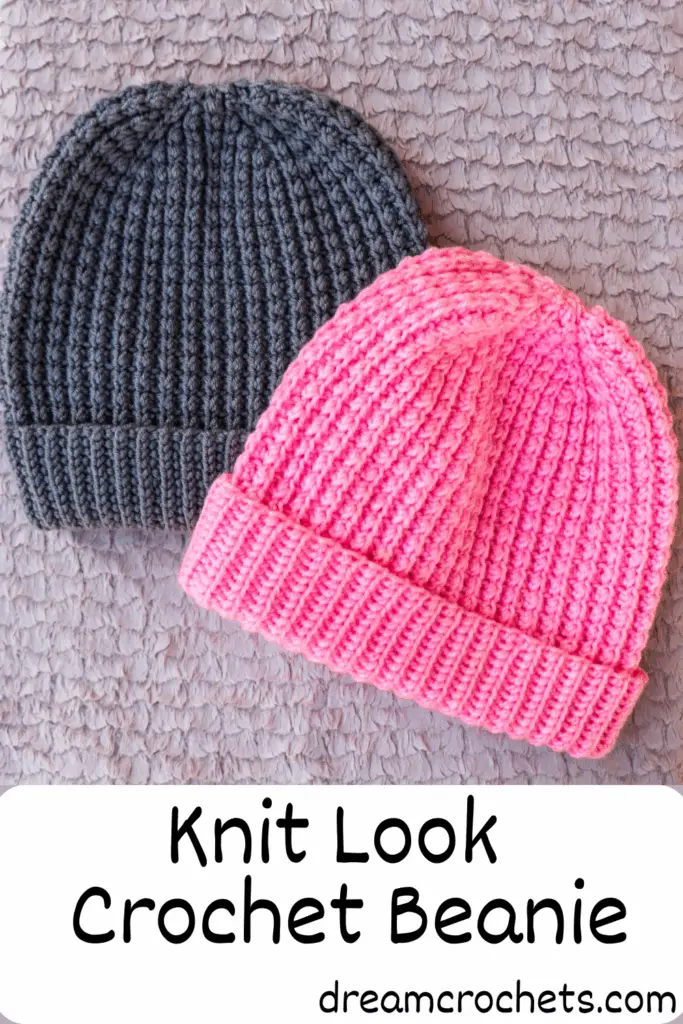
If you enjoyed making this no bunch beanie, you should also check out the knit-look crochet beanie.
If you make one, you can tag me on Instagram or share it on our Facebook group. I’d love to see your recreations.


I finished this hat today and also made your super easy knit look hat a few days ago. I found the YouTube tutorials and followed them easily. They both turned out beautifully and instructions were clear. Thank you for sharing these. I look forward to more beanie patterns.
Thank you for leaving such a wonderful review.