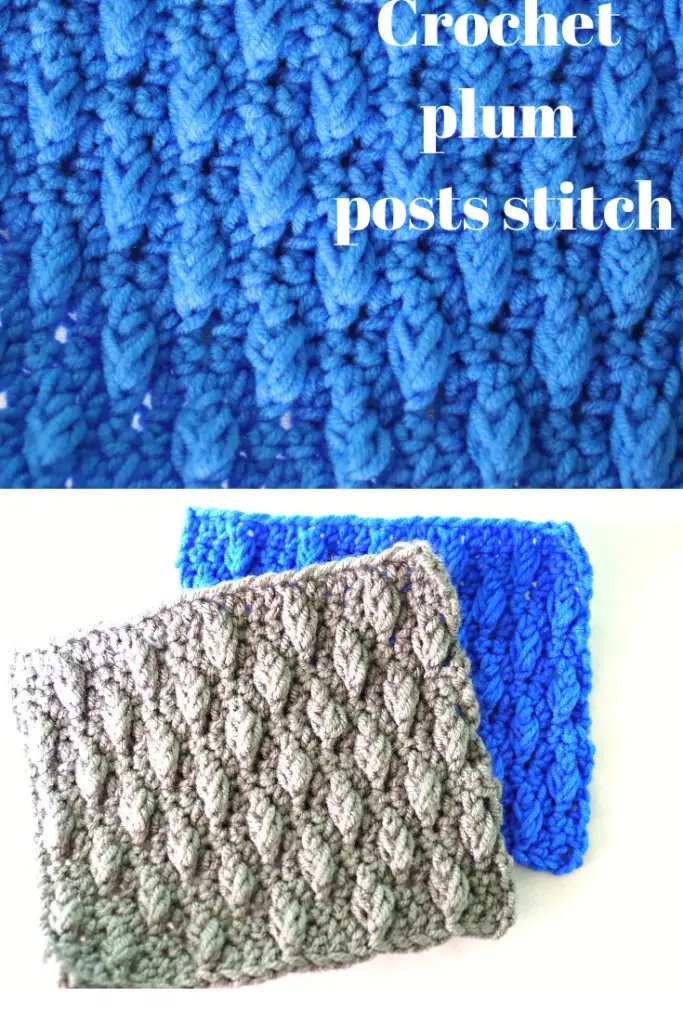
Learning new stitches is such an integral part of enriching your skills. Learning the basic stitches is important but what will elevate you is constantly upgrading your knowledge and stitch library.
Personally, I keep learning different stitches and finding out what projects best suit them. When I learnt the plump post stitch, I had multiple options on what to use it for. It suits almost everything from washcloths, baby blankets, lapghans, afghans, sweaters, cardigans and many more.
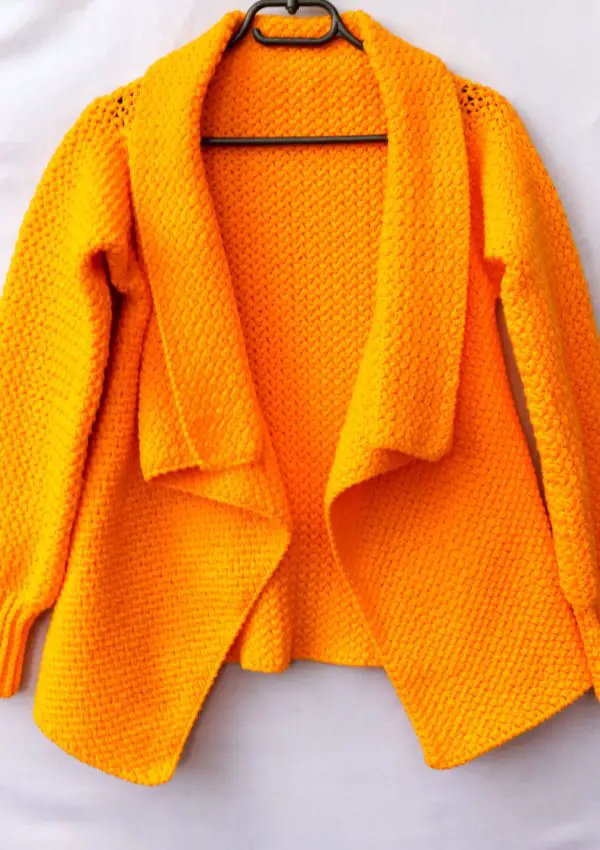
You can check out how I used it for the wheat field cardigan here.
This is not a reversible stitch and it is quite dense, so it will consume a little more yarn than a basic stitch. It requires an intermediate knowledge but an adventurous beginner will find it quite doable. I tend to say, if you can make an alpine stitch, then this is not so different.
Let’s get to work. Shall we?

Materials.
- Worsted weight yarn or any yarn in your stash.
- 5mm crochet hook. You can substitute this with the recommended hook on the yarn label.
- Darning needle to weave in the end.
- Pair of scissors.
Gauge
7 rows of 14dc stitches measure 4” square.
Abbreviations
ch :chain
sc : single crochet
dc : double crochet
sts :stitches
sk :skip
ea: each
WS:wrong side
RS: right side
rep:repeat
pat:pattern
prev: previous
Pp: plump posts.
Fp2dctog: front post 2dc together. Also same as plump post stitch.
If you want to watch the video tutorial, you can scroll to bottom of page.
Notes.
- Ch3 at the beginning of a row counts as a double crochet stitch, while ch1 does not count as a stitch..
- The plump posts stitches are worked around the next corresponding dc Stitch one row below(or below the sc row), then skip the sc stitch behind the post and proceed with the pattern. Always remember to skip the sc st behind plump posts.
- The number at the end of the row on RS is the count of plump posts.
- The number at the end of row on WS is count of sc sts.
- Repeat instructions between asterisk (**) as stated in the following statement.
Stitches Used
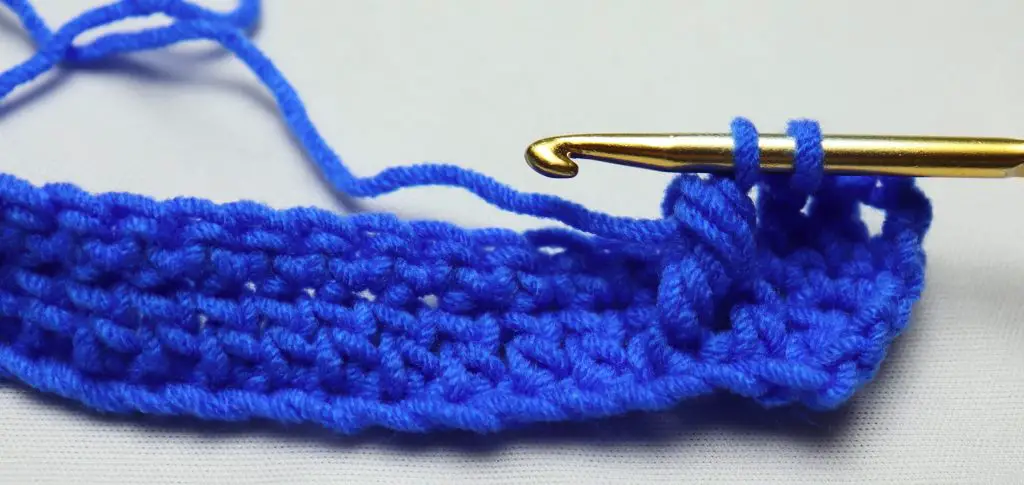
1. Plump posts / fp2dctog
Yarn over, insert hook around the next corresponding dc stitch{as if you want to make
a front post dc}, below the sc row, yo pull through(3 loops), yo insert hook behind the
same dc st and pull through(5loops) yo, pull through 4 loops, yo, pull through last 2
loops, skip the sc st behind the plump post and continue with the pattern.



2. Double crochet
Yarn over insert hook into the next stitch, yarn over and pull through (3 loops
on hook), yarn over and pull through 2 loops,yarn over and pull through the last 2 loops.
3. Single crochet
Insert hook in the next stitch, yarn over and pull through (2 loops
on hook), yarn over and pull through 2 loops.
Pattern.
Chain 25 or any multiple of 4 + 1.
Row 1.(RS)
Sk 3 chains(first dc st) dc in ea chain across. Turn

Row 2.(WS)
Ch 1, sc in ea st across. 23sts. Turn
Row 3.
Ch3, dc next 2 sts,* plump post around the nxt corresponding dc, below sc row, sk st
behind the post st,dc next 3 sts* rep to the end of row. 5 posts. Turn

Row 4.
Ch 1, sc in ea st across. 23sts. Turn
Row 5.
Ch3, * plump post around the nxt corresponding dc, below sc row, sk st behind the
post,dc next 3 sts*rep until row rem with 2 sts, plum post around the nxt corresponding
dc,sk st behind the post, dc last st. 6 posts. Turn

Repeat row 2 to row 5 until desired size is achieved.



Leave a Reply