
The Almond ridge stitch, also referred by others as the almond stitch is a very fun and easy stitch to learn. If you know the basic crochet stitches then this will definitely be an enjoyable stitch to learn.
It has a great texture and will add dimensions to your projects. Using only the chain stitch, slip stitch and half double crochet, this almond ridge stitch should be in your stitch collection this Year.
MY LATEST VIDEO
Learning new stitches has become one of my favorite things to do in my free time. I not only get to better my crochet skill but also challenge myself to learn something new. Learning new stitches also makes me able to design new patterns from blankets, to trendy cardigans. There is actually no limit to anyone interested in acquiring more knowledge.
Materials
- Any yarn with a corresponding hook size. I recommend a weight 4 yarn and 5.0 mm crochet hook for beginners.
- Pair of scissors.
- Yarn needle for weaving in the end. This is optional.
Stitches used & Abbreviations.
- Slst – slip stitch
- Hdc – half double crochet
- Ch – chain
- Sts – stitch(es)
- Blo – back loop only
Notes.
- The stitch pattern is a repeat of 4 rows.
- Ch1 at the beginning of a new row does not count as a stitch.
- repeat the pattern within the asterisk ** as stated in the following statement.
- The almond ridge stitch is a multiple of 8 +5 stitches. {this means, you chain a multiple of 8 stitches, i.e 8,16,24,32,40 then add 5 more when you’re through with the multiples}
- All stitches are worked in the back loop only (blo)
Pin this for later Here.

Crochet Almond Ridge stitch Pattern.
Chain 29 or any multiple of 8 +5
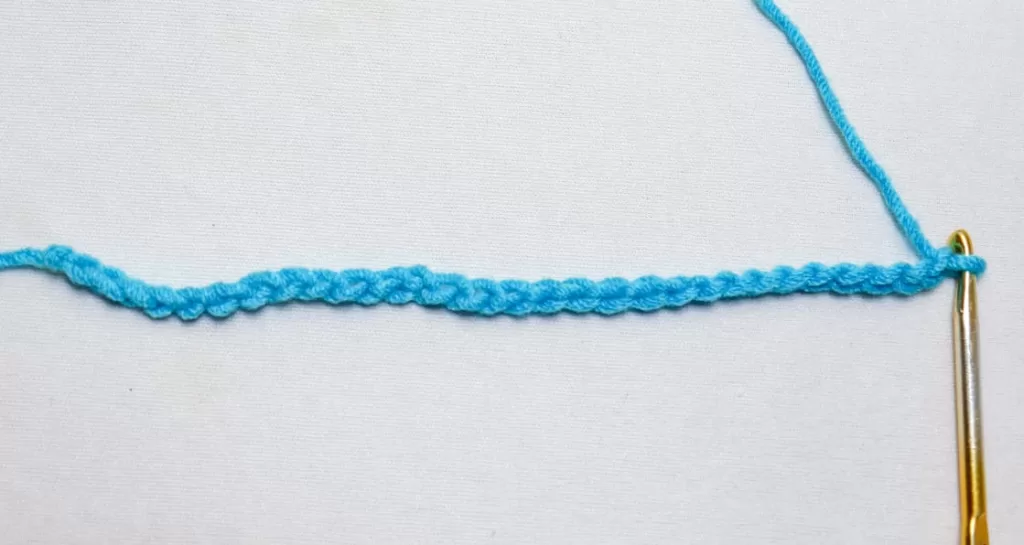
Row 1.
Skip the first chain after hook, in the second chain, insert your hook, yarn over and pull through the chain and the loop on your hook, (first slip stitch made)
Slip stitch in the next 3 chains
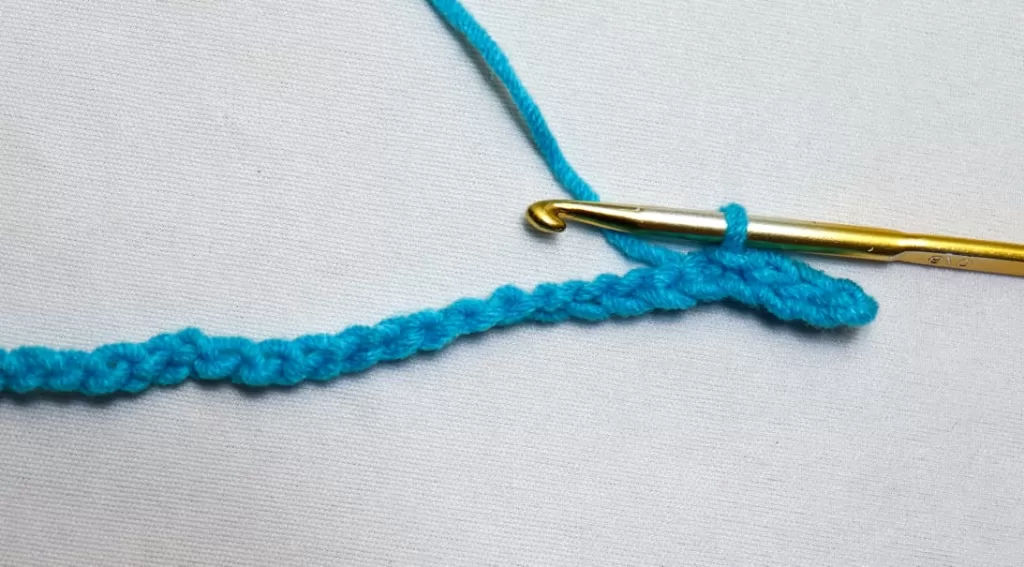
Yarn over, insert hook in the next stitch, yarn over and pull through the chain {you’ll have 3 loops on the hook}

yarn over and pull through all the 3 loops. (first half double crochet made)

Half double crochet in the next 3 sts.

*Slst in the next 4 chains, hdc next 4 chains* repeat the pattern from * until you have only 4 chains remaining, slst in the last 4 chs. Turn

Row 2.
Ch1, slst in the blo of the first 4 sts,* hdc blo nxt 4 sts, slst blo nxt 4 sts* repeat pattern from * to the end of the row. Turn

Row 3.
Ch1, hdc in the blo of the first 4 sts,* slst blo nxt 4 sts, hdc blo nxt 4 sts* repeat pattern from * to the end of the row. Turn

Row 4.
Ch1, hdc in the blo of the first 4 sts,* slst blo nxt 4 sts, hdc blo nxt 4 sts* repeat pattern from * to the end of the row. Turn
Row 5
Ch1, slst in the blo of the first 4 sts,* hdc blo nxt 4 sts, slst blo nxt 4 sts* repeat pattern from * to the end of the row. Turn
Row 6
Ch1, slst in the blo of the first 4 sts,* hdc blo nxt 4 sts, slst blo nxt 4 sts* repeat pattern from * to the end of the row. Turn
Repeat rows 3-6 until you master the stitch or attain desired length.
Remember to work only in the back loop (blo) throughout your project.
Also remember, if you start a row with 4 slst, you should end the same row with 4 slst, and this applies for the hdc.
Want to follow along with the video tutorial?



Leave a Reply