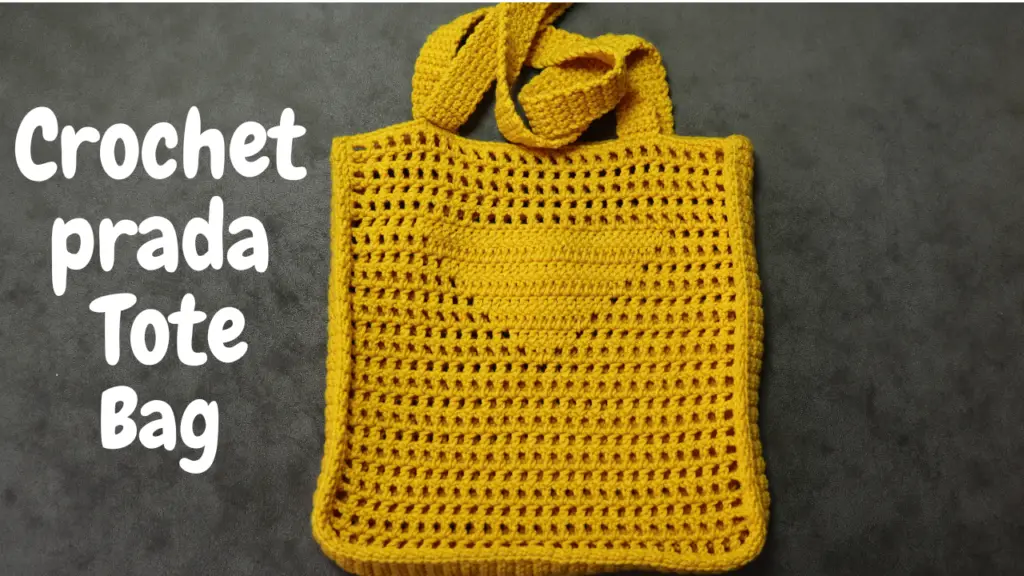
The crochet Prada Inspired tote bag has been all over the internet lately, so i decided to hop in the train. This bag is so versatile and stylish in the same way making it a statement whenever you step out for shopping or off to the beach.
- THE PATTERN IS WRITTEN IN US TERMINOLOGY.
SKILL LEVEL: Easy
YARN WEIGHT: Medium
MATERIALS
- Medium weight yarn.
- 4mm crochet hook, or any to obtain gauge.
- Pair of scissors
- Tape measure(optional)
- Yarn needle
Gauge:
Approximately 10 rows of 9 sc stitches measures 2”x2”
ABBREVIATIONS/STITCHES UTILIZED
Sc-single crochet Dc-double crochet
Sts-stitches slst– slip stitch
sk– skip Ch– chain
Fc – Foundation chain Ea– Each
WS– Wrong side RS– Right side
Rep- repeat pattern in asterik (*) Pat– pattern
Ch sp– chain space, in this pattern is used spaces with 1 chains
stitches (ch-1 sp).
Centre stitches – these are the stitches that form the triangle at the centre of bag.
NOTES.
- ch 4 at the beginning of a new row is counted as a dc stitch and a chain one.
- The bag is made in one size but instructions are given for customization.
- The pattern is worked in 3 pieces( front, back and side panels) which are joined together and handles worked later.
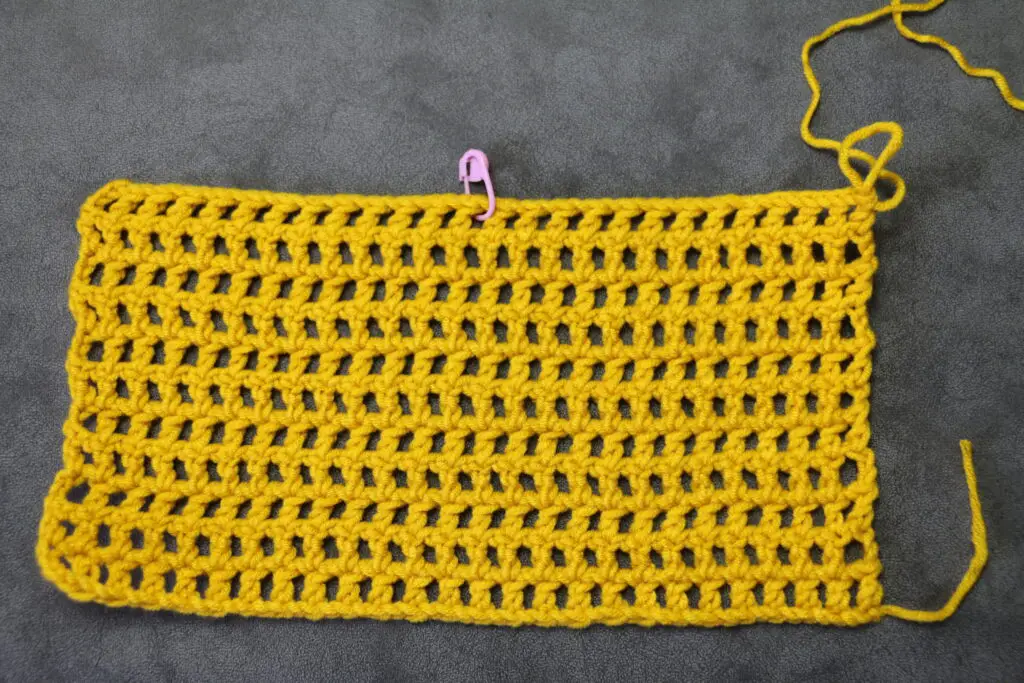
FRONT PANEL
Chain 54. (if you want to customize it larger or smaller, chain an even number of stitches.)
Row 1. skip 5 chains, dc in the 6th chain, *ch1,sk nxt ch, dc nxt chain* repeat to end of row. Turn
Row 2. ch 4, *sk ch-sp, dc nxt st* rep until last 5chains, sk nxt ch and dc in the 4th chain. Turn
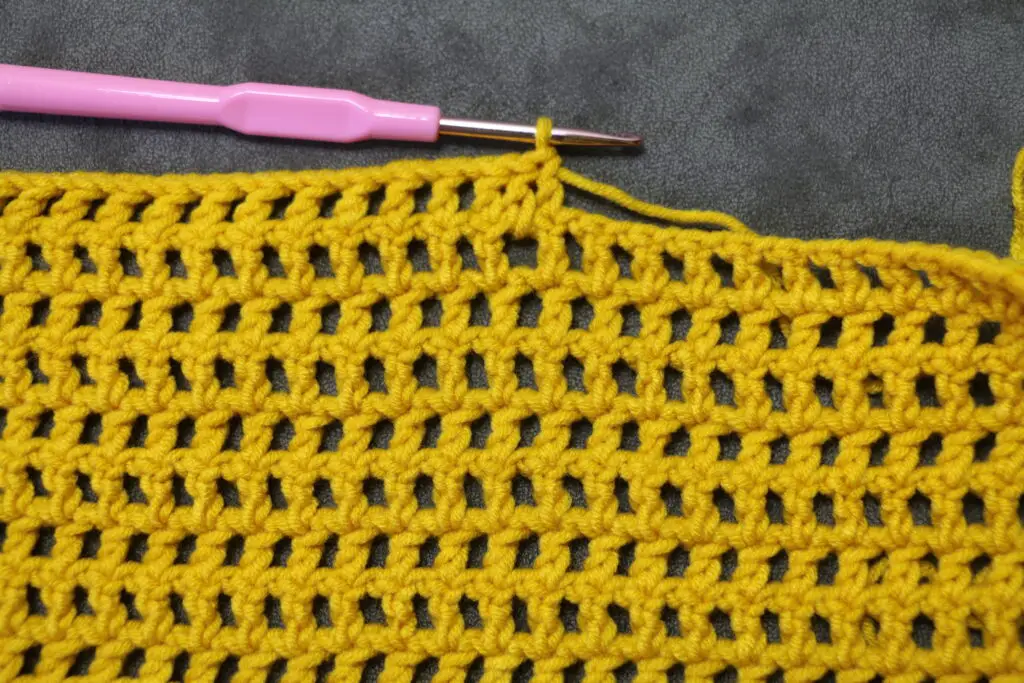
Row 3. ch 4, *sk ch-sp, dc nxt st, ch1* rep to last dc st, sk ch1 , dc in the nxt ch. Turn
Repeat row 3 pat until you have 11 rows (you can customize the number of rows to any odd number depending on how large or small you want it)
Row 12. Pm in the middle/center ch1 space.(13th ch-sp from either end)
ch 4, *sk ch-sp, dc nxt st, ch1* rep to dc st before marker, dc, nxt st, dc in the ch-sp with marker, dc nxt st, *ch1, sk ch-sp, dc nxt st* rep to end of row. Turn
Row 13. ch 4, *sk ch-sp, dc nxt st, ch1* rep to dc st before the last ch-sp to centre sts, dc, nxt st, dc in the ch-sp, dc nxt centre sts, dc in the ch-sp, dc nxt st, *ch1, sk nxt ch-sp, dc nxt st* rep to end of row. Turn
Repeat row 13, until you have 8 (eight) rows of triangle pattern.
Row 20. ch 4, *sk ch-sp, dc nxt st, ch1* rep to ch-sp nxt to centre block sts, sk ch-sp, dc nxt st, *ch1sk nxt st, dc nxt st* rep to nxt ch-sp, *sk ch-sp, dc nxt st, ch1* rep to end of row. Turn
Row 21 to 24. rep row 3. Don’t cut yarn, continue to border.
Border
Still Working on the RS, ch1, sc in each st and ea ch-sp to the end of top row, continue to the side by placing 2sc around each dc st until bottom row, sc in each st & ch-sp at the bottom row then finish the border by placing 2sc around each dc st on the opposite side. When done, join with slst to the first sc st. (no. of sts should be 147, excluding top row.)

***Make another one for back.***
Side Panel.
Depending on how broad you want the bag to be, you can customize the no. of foundation chains.
Row 1. Chain 6, sk first ch, sc in ea chain. Turn
Row 2. ch1, sc in ea st. Turn.
Repeat row 2 until you have 147 rows ( or until no of rows corresponds wit the no of stitches at the sides and bottom border.)
Joining side panel to front & back panels.
Starting with the front panel, lay the side panel to its RS and join with sc all around. Do the same for the back panel.
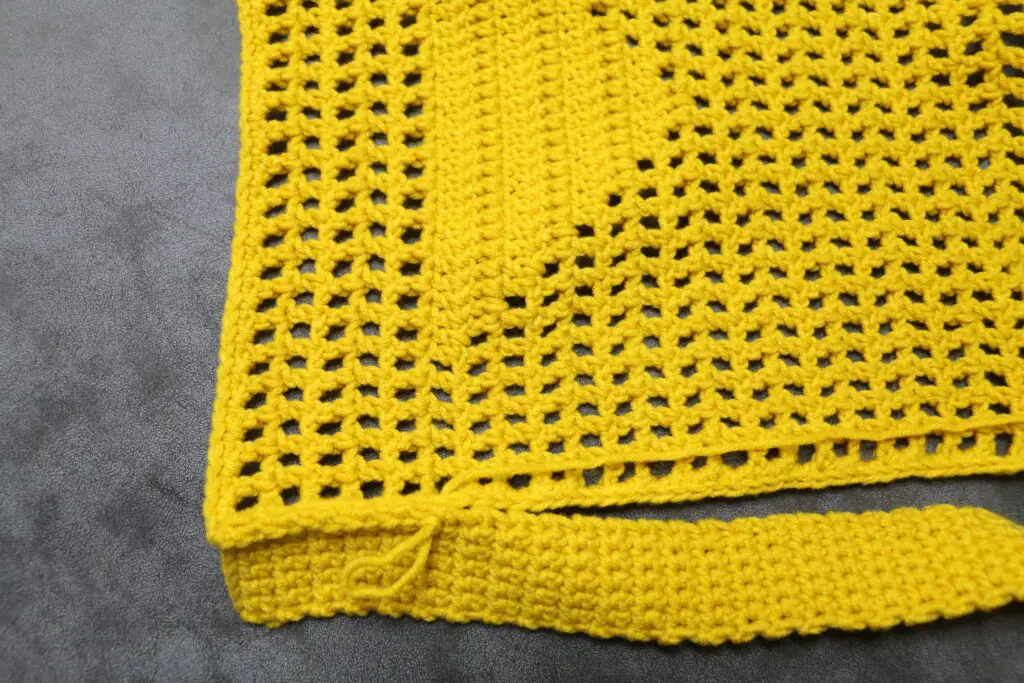
Attaching handles.
Mark the 10th stitch from both ends of the front panel.
Attach yarn on the 10th st, working from RS.
Row 1. Ch1 and sc same st, sc nxt 4 sts. Turn.

Row 2. Ch1, Sc ea st.
Rep row 2 until you have 89 rows.
Without bending the chain strap, attach it to the other side of the front panel with sc sts from the marked st.

***Repeat the same for the back panel.***


Leave a Reply