Have you seen some gorgeous knot pillows and wondered how you can recreate one for yourself? Then look no further. Knot pillows are great accessories and add comfort as well. There is a variety from sizes to fabric used.
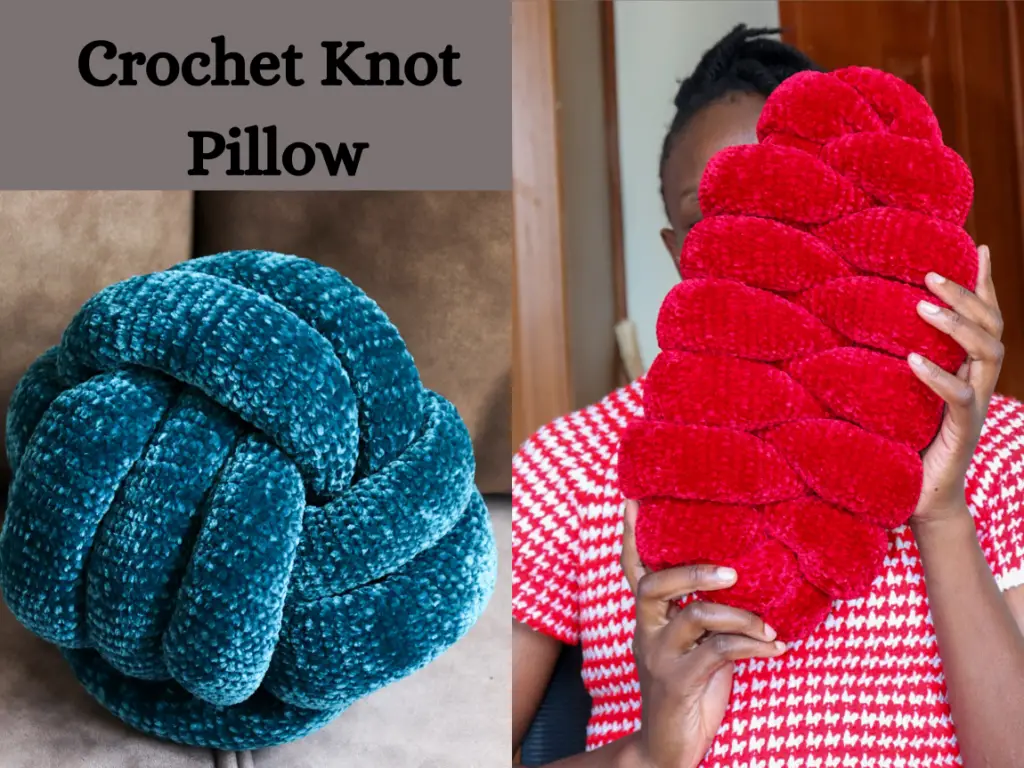
Contrary to buying knot pillows, I prefer making them as it add personalization. Making something by myself always beats buying. This is why I decided to crochet this knot pillow and give you the easy to follow pattern so you can make one too.
Using only single crochet stitch, this knot pillow pattern can made by an absolute beginner. I used a velvet yarn for the pattern but you can use any yarn you have around. Just make sure it is a weight 4. You can also experiment knotting it in various shapes. Exciting right!
Get the ad-free printable version on Etsy or Ravelry.
Stitches Used
Single crochet 2 together (sc2tog): insert hook in the next stitch, yarn over and pull through the stitch (2 loops on hook), insert hook in the next stitch, yarn over and pull through the stitch (3 loops on hook), yarn over and pull through the three loops.
Single crochet : insert hook in the next stitch, yarn over and pull through the stitch (2 loops on hook), yarn over and pull through the 2 loops.
Add the crochet knot pillow to your ravelry queue
Get the step by step video tutorial
Buy the ad-free large print pdf version.
Yarn Used & Substitutes
Skill Level: Easy
Notes
- Parts of this pattern is written in shorthand. E.g, (sc,2sc) means, place 1 sc in one stitch, then 2sc in the next stitch.
- The project is done in one spiral motion without joining to first st of previous round.
- Place marker in the first st of the first 4 rounds. After that, you can proceed without the marker until you achieve the desired length.
Materials.
Yarn
- Vel-luxe yarn or any Worsted / category 4 yarn.
- The pattern used 4 skeins of velvet blanket yarn, each 122 meters. You can however substitute it with any worsted yarn.
Hooks
- 4.0 mm crochet hook.
Notions
- Pair of scissors
- Tape measure
- Yarn needle
- Polyester fibre filling
- Rod for pushing in the polyester fibre.
- A tube to hold the project in shape when feeding in the fibre(this however is optional)
Pin it here.

Stitches and Abbreviations.
st – stitch Ch – chain
Sc – single crochet
Sc2tog – single crochet 2 stitches together.(decrease)
Gauge
20 sts and 14 rows measure 4″x4″
Measurements
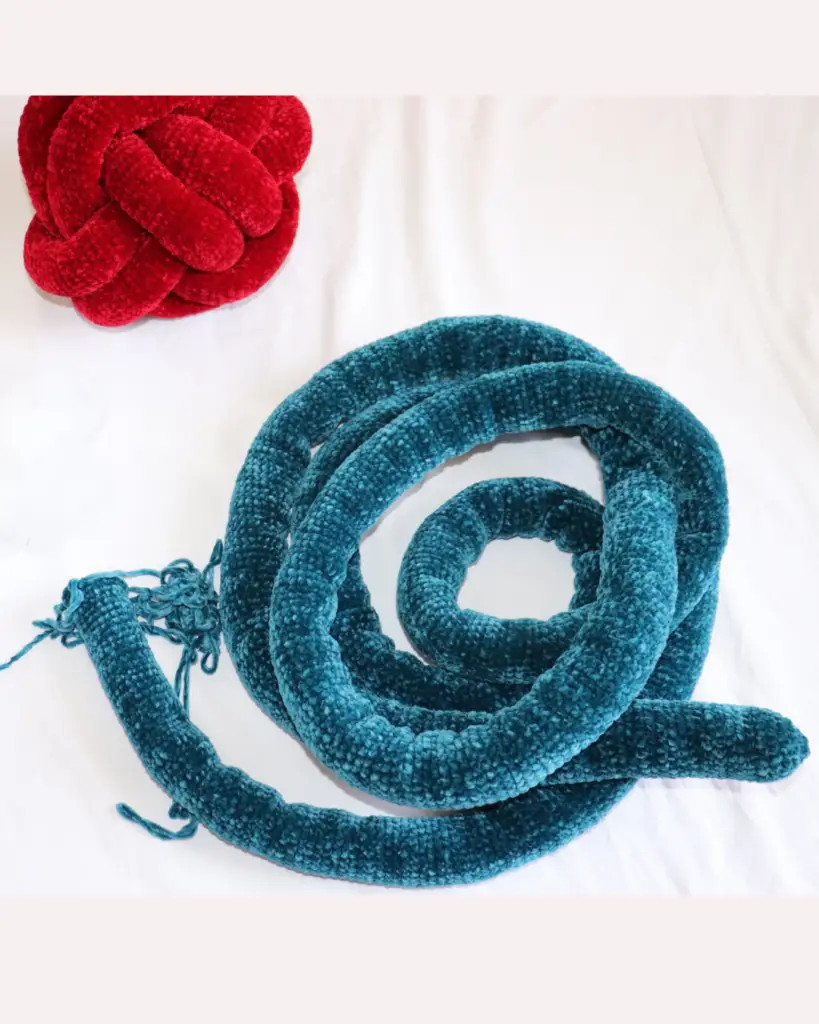
Length of tube : 156”
Diameter of Pillow: 4.75”
Crochet knot pillow pattern.
Start with a magic ring.
Or ch 4 & join to first ch with a slst.
Round 1.
Ch 1, 6sc in the magic ring. 6sts
Do not join with a slst, place marker in the first st then proceed to round 2.
Round 2.
2sc in each stitch around. 12sts
Round 3
(sc, 2sc) repeat to end of round. 18sts.
Round 4.
(sc, sc, 2sc) repeat to end of round. 24 sts.
Round 5.
sc in each stitch to end of round.
Repeat round 5 until you finish one ball, insert the stuffing before continuing with the next ball of yarn.
Continue with the pattern, until your project measures approximately 155 inches.
Closing up the Pillow.
Make sure you have 24 sts in your last round.
Round 1.
(Sc, sc, sc2tog) repeat to end of round. 18 sts.
Round 2.
Sc, sc2tog repeat to end of round. 12 sts.
Round 3.
Sc2tog to end of round. 6sts.
Ch1, cut yarn and sew the last round to close the gap.
You are done.
Making a knot.
Refer to the video tutorial here, on how to make a knot.
Hope you enjoy your Pillow. Tag me on Instagram @dreamcrochets with your makes.
Buy me coffee to support these free content.
Add kofi & Social Accounts.
Follow along with the youtube video.




Leave a Reply