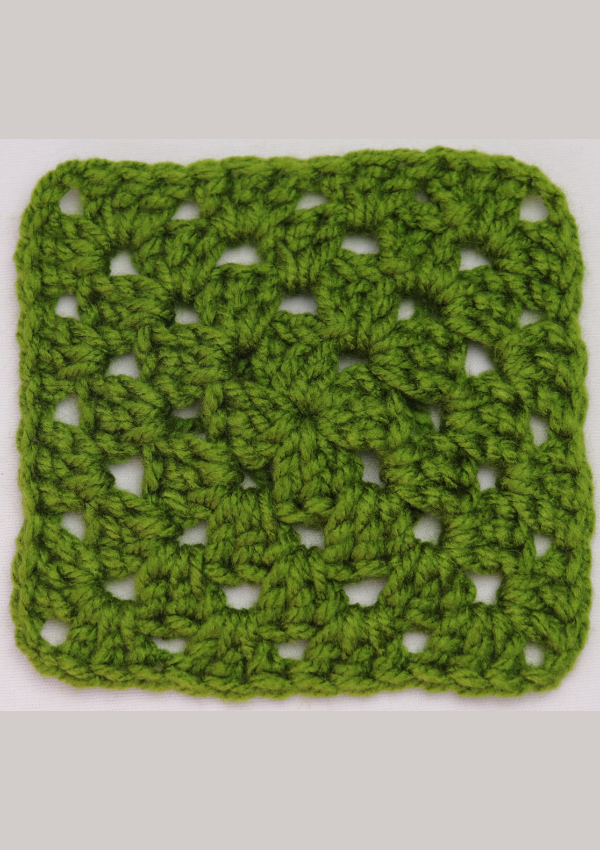
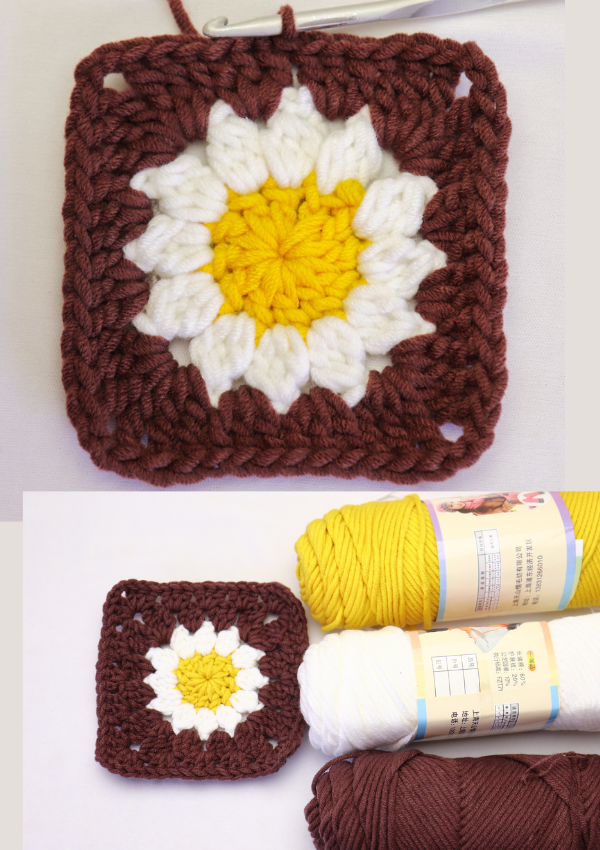
We are going to learn an easy crochet granny square pattern in this post. Crochet granny squares trace back in the 1800(s), originally as engravings. This beautiful crochet square has evolved over the years and we can now see it high end run ways.
As an absolute beginner, you might think of the crochet granny square as an intimidating crochet project but this post will prove you wrong. I have shown a step by step instruction with detailed picture tutorial to make it easier for you.
Why Learn the Crochet Granny Square.
Crochet granny square has been used widely from crochet blankets, sweaters and cardigans, dresses, hats and many more. you can literally use it to make anything you can think of.
It is also easy and quick to make. You can easily carry it along anywhere and make the individual squares then later join them together to make a bigger project.
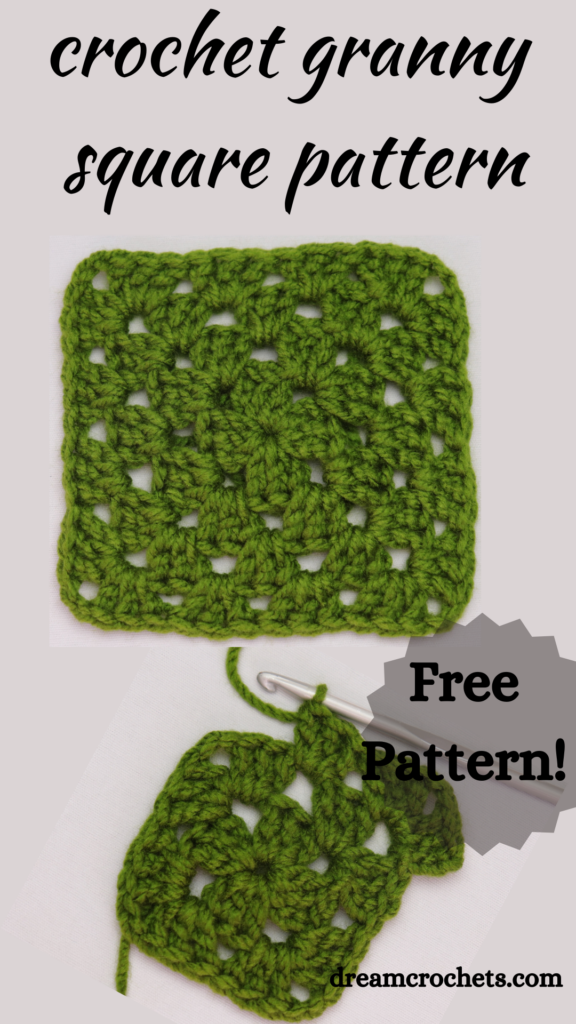
What You need.
You will need the following supplies for your first granny square.
Yarn.
Before starting any crochet project, you need yarn. I recommend starting out with a thick yarn {category 4 or worsted} such as red heart soft yarn. This will be easier to hold and you can also see your stitches easily. If you decide to use your squares for a bigger project, the category 4 yarn will make you see your progress faster.
Crochet hook.
After securing yarn, you will need a crochet hook. This is usually written on the yarn label. If not, try using a 5.0mm with the worsted yarn. You can go higher or lower depending on your tension.
Other supplies:
darning needle {to weave in ends}
pair of scissors.

Notes.
- The granny square is made in rounds with the right side facing at all times.
- ch 3 at the beginning of a new round counts as the first double crochet stitch.
- All rounds start in a ch-2- corner space.
- The number stated at the end in brackets (), is the number of granny clusters or 3 dc groups.
Abbreviations / stitches used.
Ch – chain
Dc – double crochet
ch 2 sp – chain 2 space
sl st – slip stitch.
granny cluster – group of 3 dc stitches
Crochet Granny stitch pattern.
Start with a magic circle or [ ch 4 and join with sl st to the first chain to form a circle]

Round 1.
step 1
ch 3, 2 dc, ch 2, 3 dc, ch 2 in the magic ring

Step 2.
3 dc, ch 2 in the ring.
repeat step 2 two more times, join with sl st to the first st. (4 granny clusters)

Round 2.
step 1.
slip stitch in the next 2 sts, sl t in the ch 2 space,
ch 3, 2 dc, ch 2, 3 dc in the ch 2 space.

step 2.
3 dc, ch 2, 3dc, in the next ch 2 space.

repeat step 2 in the next 2 chain 2 spaces. sl st in the first 3 sts, sl st in the ch 2 space and proceed to round 3.

Round 3.
step 1.
ch 3, 2 dc ch 2, 3 dc in the ch 2 space, 3 dc in the next space, between granny clusters.

step 2,
{3 dc, ch 2, 3 dc} in the next ch 2 space, 3 dc in the next space between granny clusters.
repeat step 2, to the end of round, sl st to the first st to join round.
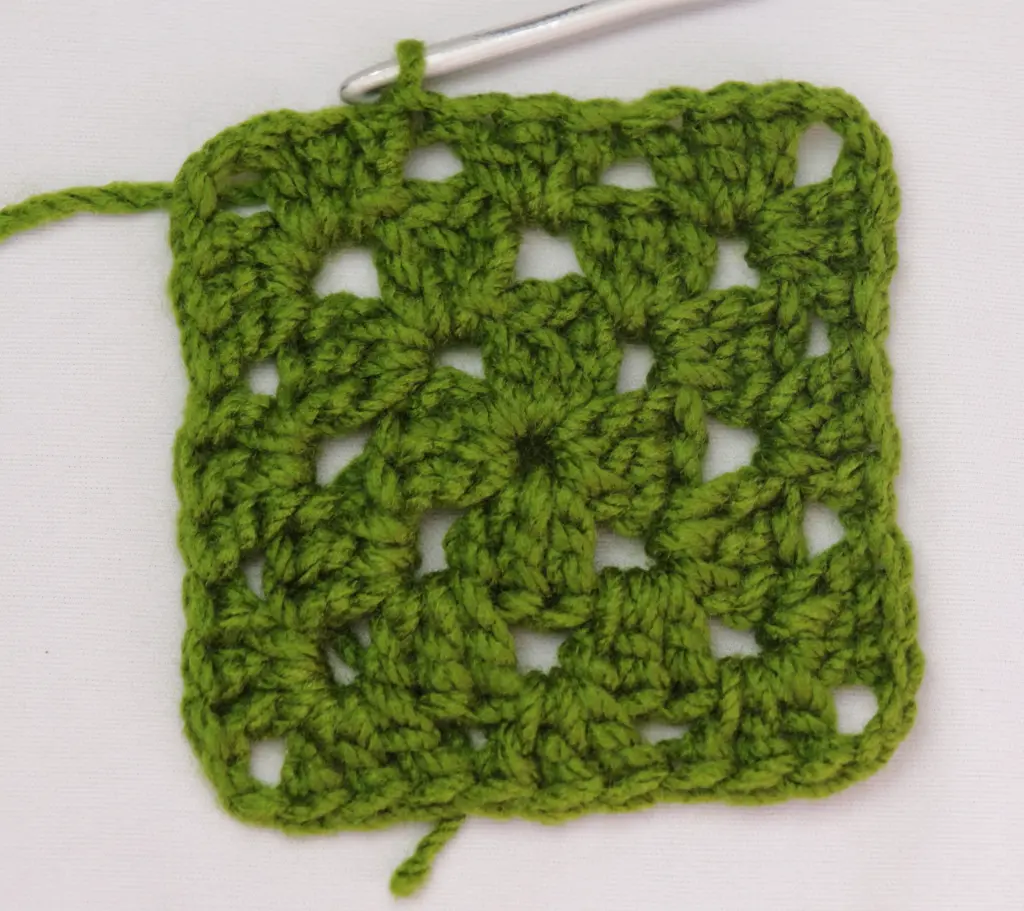
Round 4 and additional rounds.
Step 1.
sl st in the next 2 sts, sl st in the chain 2 space, {ch 2, 2 dc, ch 2 3 dc} in the first ch 2 space, 3 dc in each space between granny clusters,
Step 2.
{3 dc, ch 2, 3 dc} in the next ch 2 sp, 3 dc in each space between granny clusters,
repeat step 2 to the end of round, join with a sl st to the first stitch.
Continue with your rounds, only increasing in the ch 2 spaces by placing {3 dc, ch 2, 3 dc} until you reach your desired number of rounds.
At the end of your rounds you can decide to slip stitch, ch 1 and cut yarn, of finish with an Invisible joining method.
Invisible Join .
Step 1
After working your last granny cluster, ch 1 and pull it through the last stitch.

step 2.
insert the tail in a yarn needle and pass it through the 2nd stitch from back to front.

Step 3.
with needle in front, insert it in the front 2 loops of the last stitch.

Last step.
weave in your tail through the ch 3 {first st of last round} from front to back. then weave it all at the back.

If you enjoyed this post, you can check our crochet stitch library here, to learn more crochet stitches and perfect your skill.
Happy crocheting.
You loved the free pattern?
Don’t forget to share it with us on our Facebook group or tag me on Instagram.
You can support me to post more by buying me a coffee.



Leave a Reply